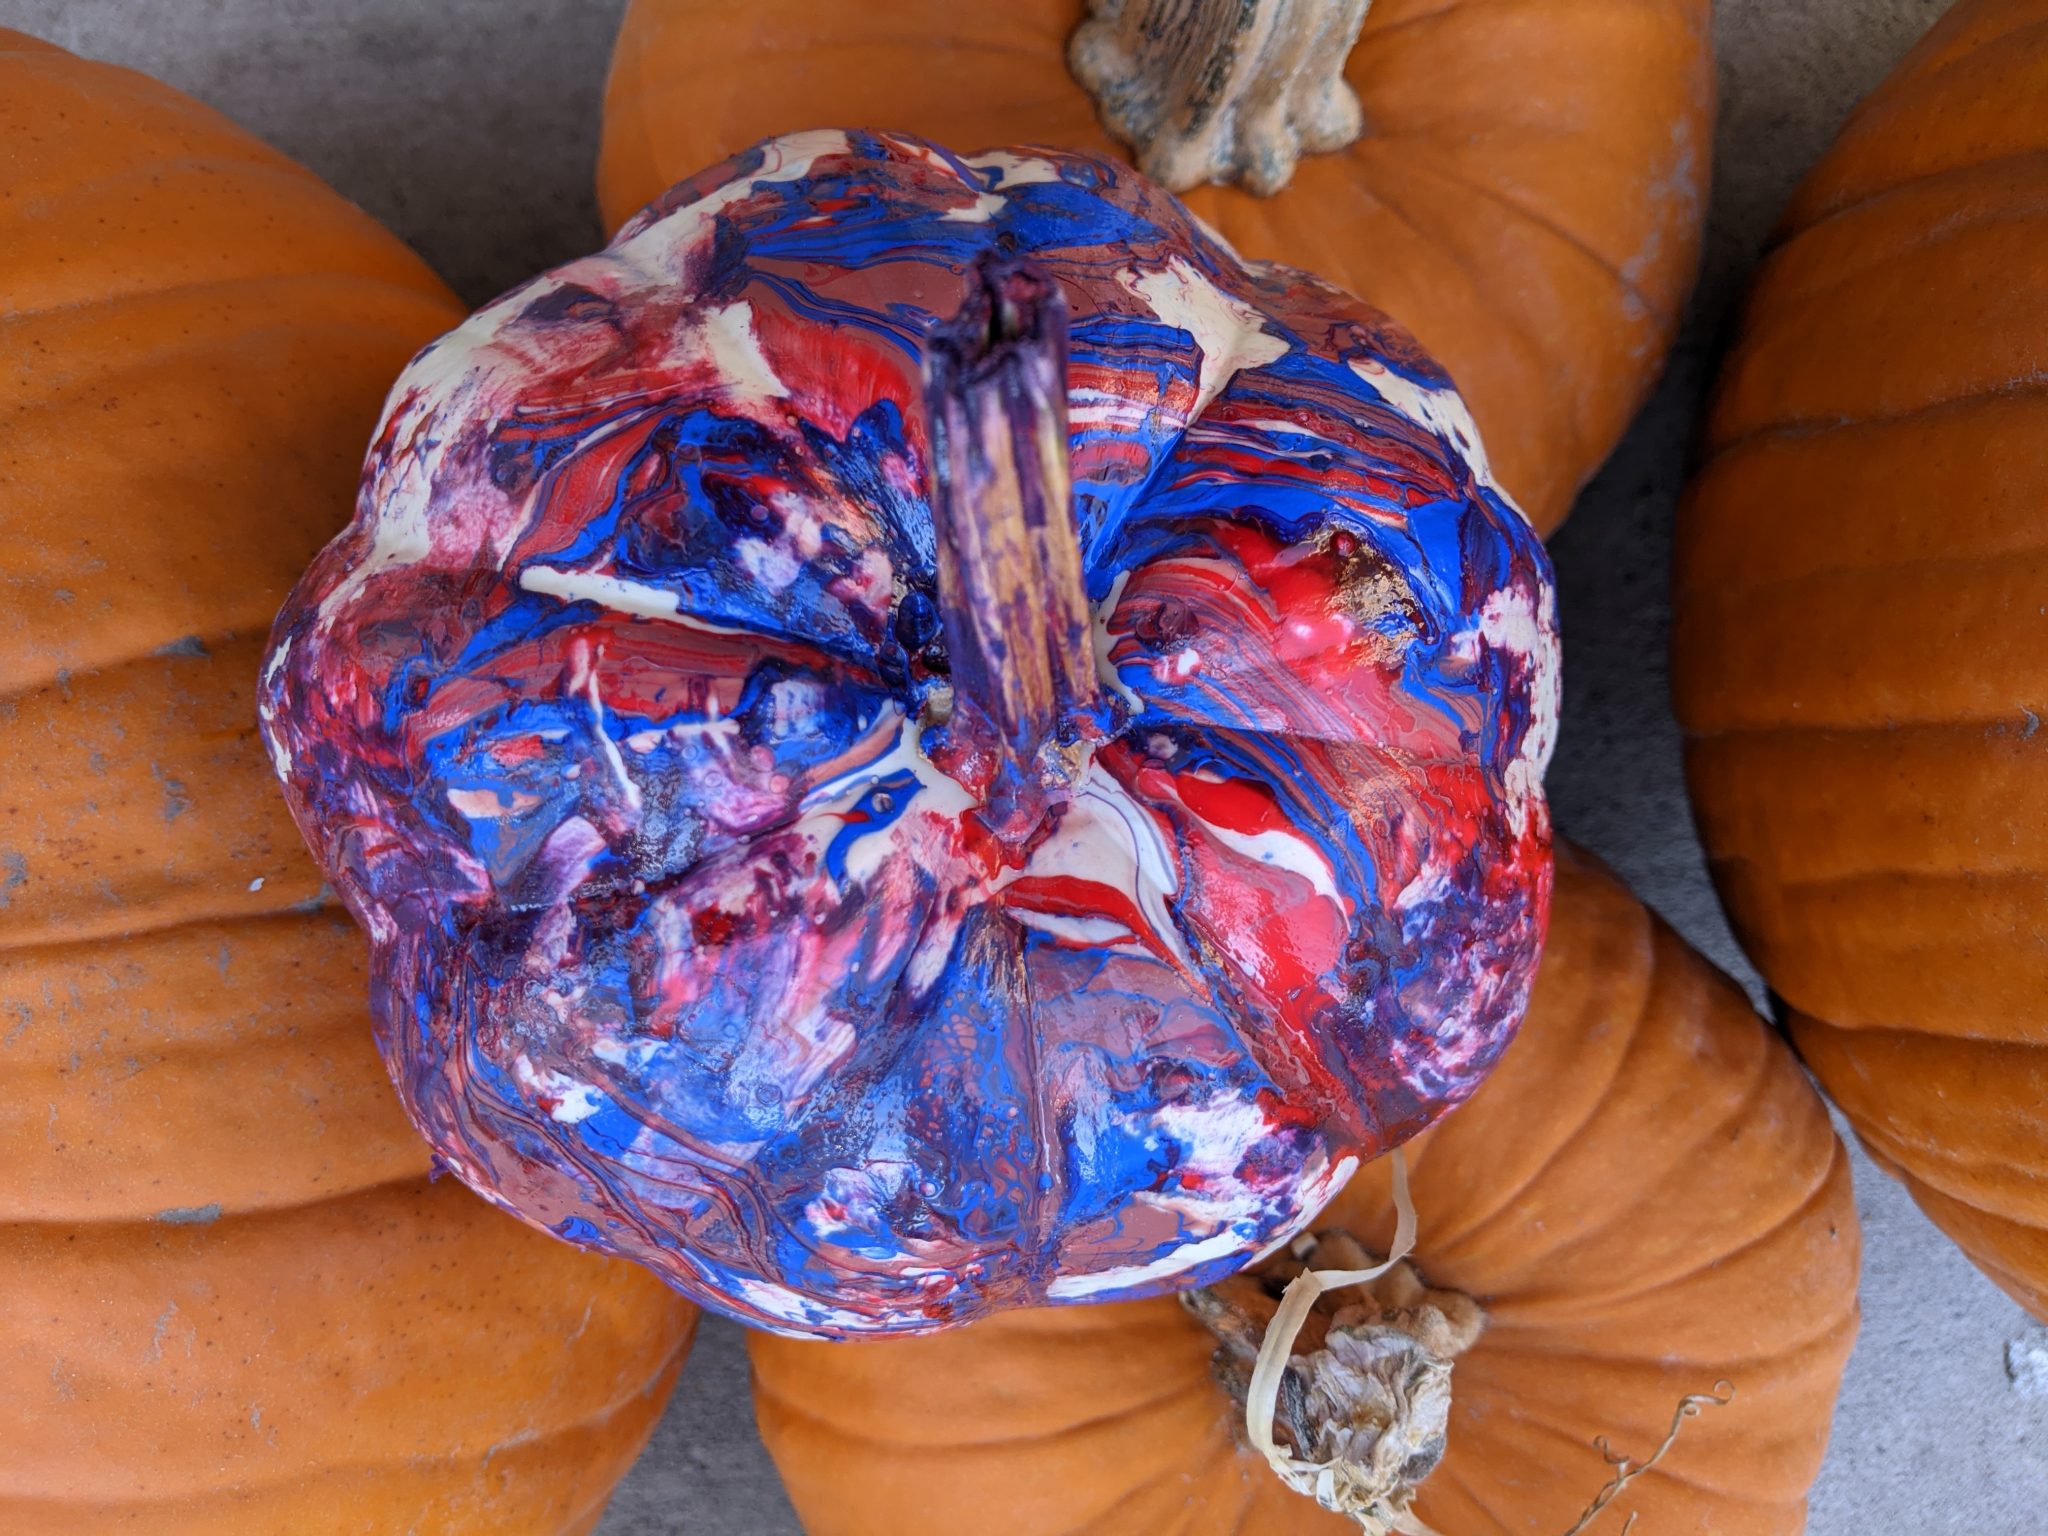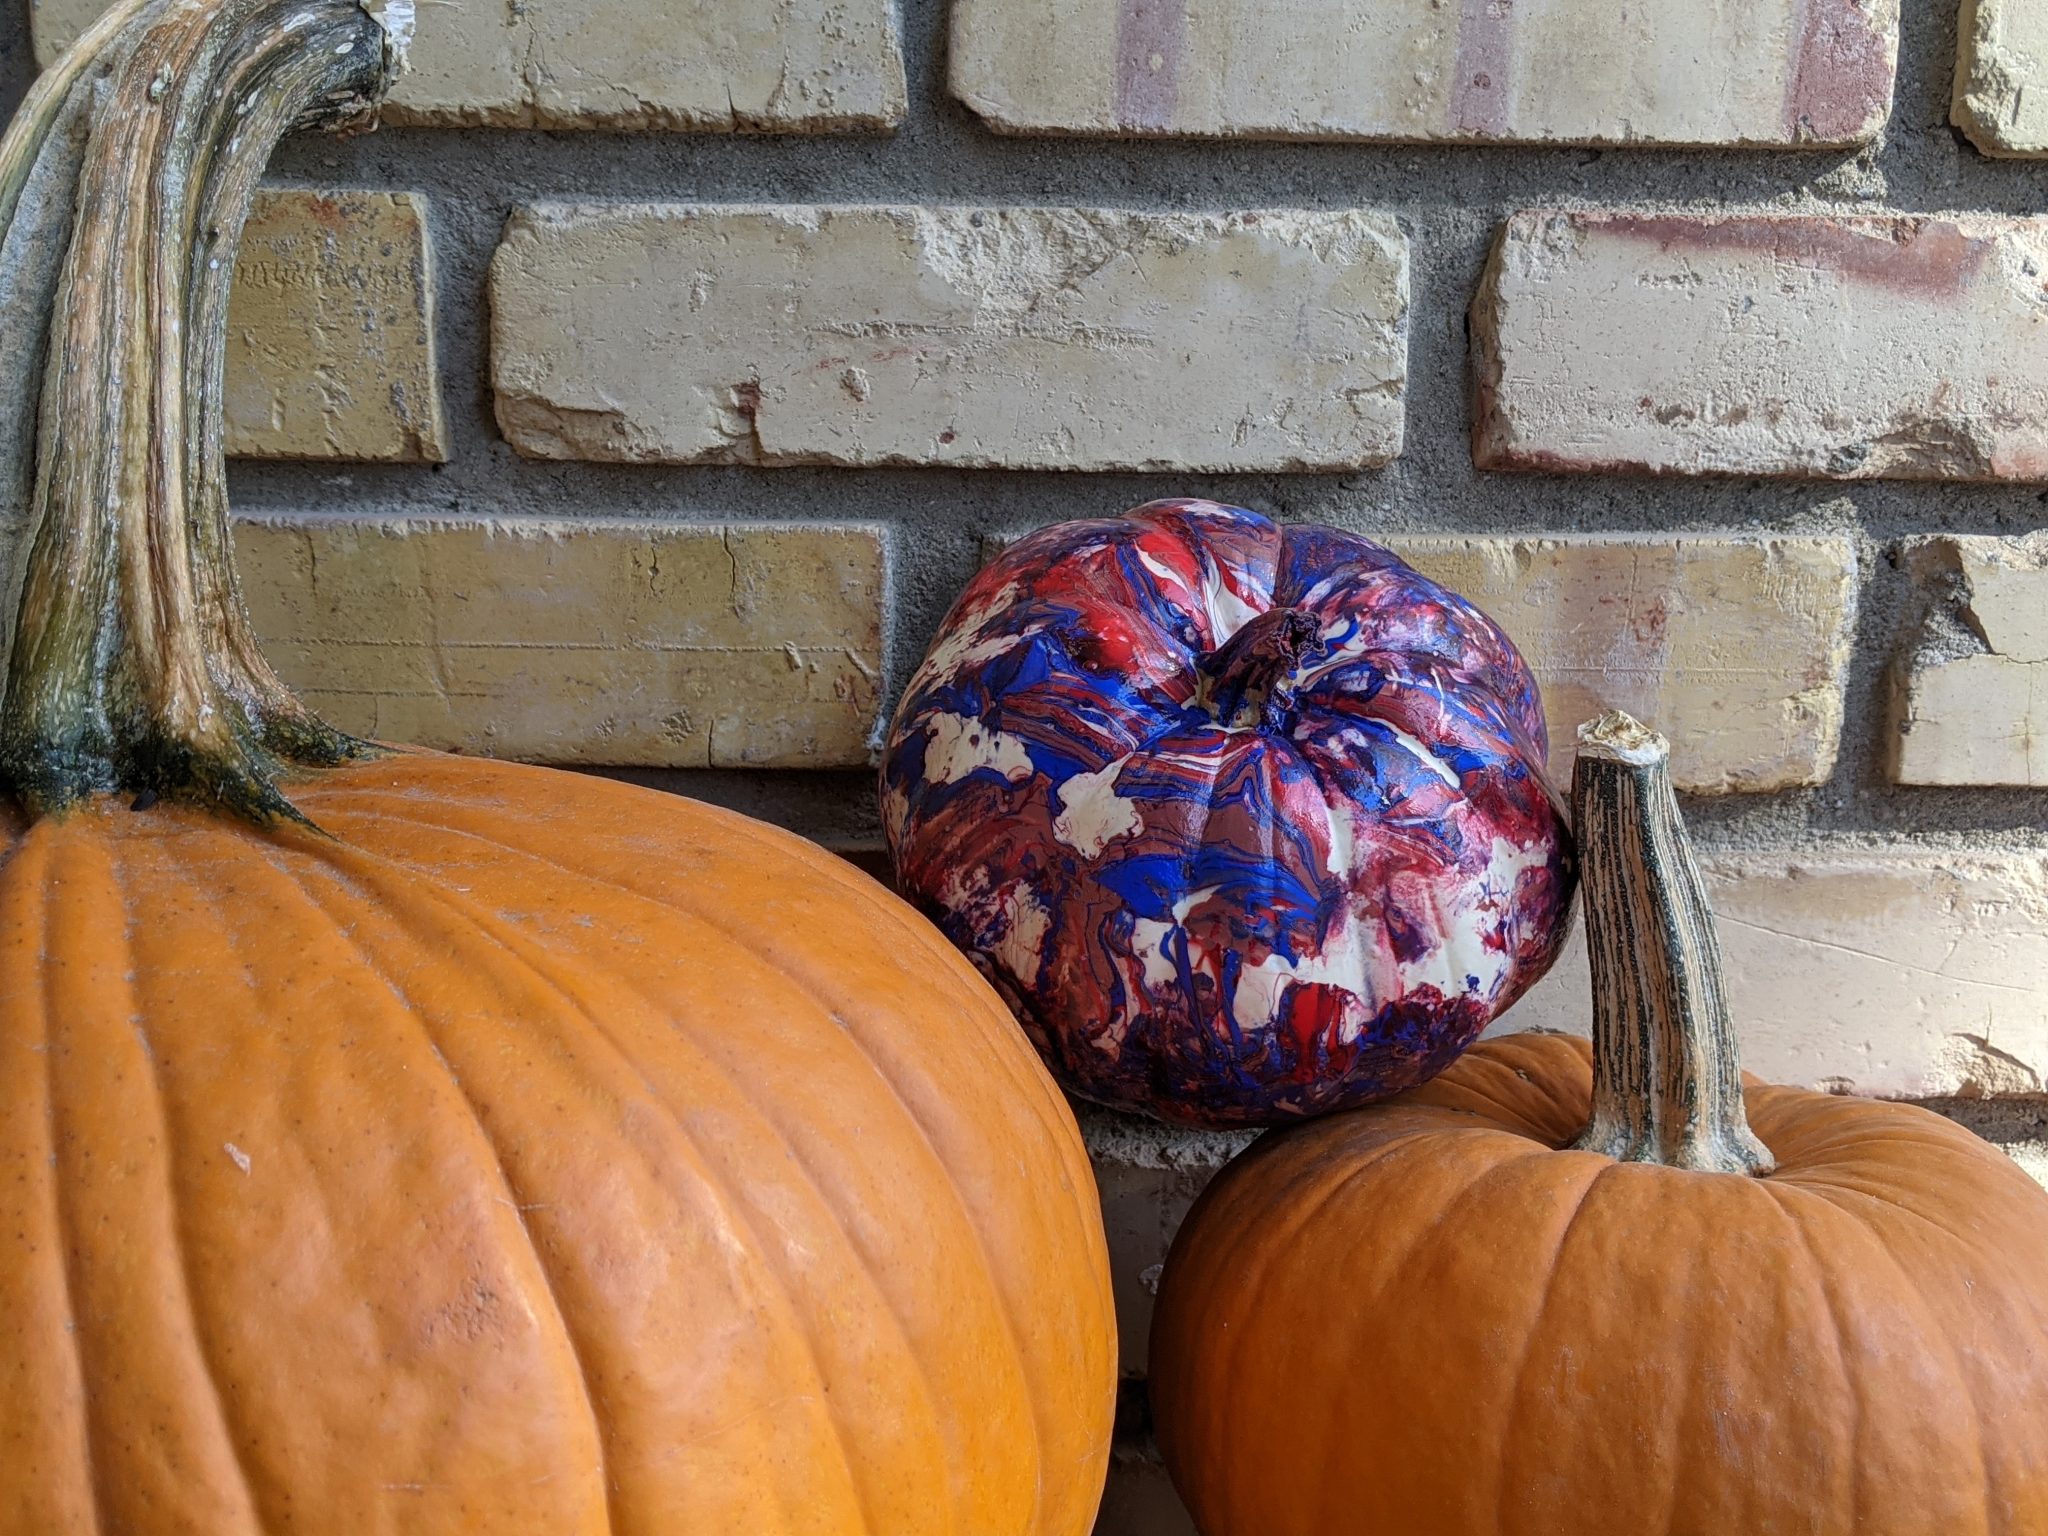
We are celebrating the last week of our spooky month by dedicating an entire week to pumpkins! Learn more about these gorgeous gourds with daily STEAM Learning Lab lessons. Today we bring you two lessons: Marbled Pumpkins, and a counting lesson with Pumpkins on the Vine!
Marbled Pumpkin
Ages 4 and up with an adult
For this weeklong celebration of pumpkins, we are experimenting with making 3D art. By using pumpkins as a canvas, children (and adults!) have an opportunity to make art on a canvas that isn’t flat and blank, like paper. Instead pumpkins are round and in a multiple of colors. While kids may have tried marbling before(like this tutorial here https://discoverygate.wpengine.com/steam-learning-lab-shaving-cream-marbling/) This project is a little messier, and the natural roundness of the pumpkin will impact how the marbling is displayed.
This activity also gives kids a chance to see how different substances can interact with water. The nail polish isn’t water soluble, meaning it won’t easily mix into the water because of the chemicals wihin it. Instead, the polish will float on the top of the water, which is how we can make a design in the polish and then transfer that design onto the pumpkin. Using polish lets us draw a pattern on the water! When the project is finished, kids can notice how the leftover polish stays in strands within the water, leaving the water clear.


Materials:
- Small Pumpkin
- At least 2 different colors of Nail Polish
- Bucket
- Gloves
- Garbage bag (optional)
- Popsicle stick
- Newspaper or paper towel
Directions:
- This activity is best in a well-ventilated area, like outside or in a garage.
- Fill an old bucket, or a mop bucket with a garbage bag in it, with water that is a little higher than your pumpkin height
- Wear gloves!
- Add drops of each color of nail polish on the surface of the water
- Stir the drops with your popsicle stick in a wave motion horizontally
- Stir the drops with your popsicle stick vertically
- You can hold your pumpkin by the stem or if there isn’t and stem, hold the pumpkin by the side that will be placed on the ground
- Slowly immerse pumpkin in water and then rapidly pull it out
- The nail polish will cling to the pumpkin and leave a marbled pattern!
- Gently place the side that will rest on the ground on the newspaper or paper towel and allow to dry for at least 1 hour
- Check to make sure the pumpkin feels dry and place as a decoration!
Pumpkins on the Vine
Ages 2 and up
Today’s Activity lets us make a tiny abacus. An abacus is just one way to use manipulatives in math, which can be great for younger children. Numbers, counting and other mathematical activities can all be difficult abstract concepts, so by using concrete items kids can understand these ideas better. This activity also demonstrates these concepts by using an item that kids might be used to seeing in nature-pumpkin vines! By thinking about the natural world as a series of mathematical relationships, we can help kids recognize patterns and math relationships in everyday life.
After you make your pumpkin on the vine, try to solve some easy math problems on it. By moving the beads from one side to the other we can represent activities like addition and subtraction. This project can also be used to help kids count in multiples, with each pumpkin-bead representing 5, 10 etc.
Why this activity helps kids learn math:
More fun than doing math on paper
Concrete objects to represent an abstract concept
Helps students communicate and discuss mathematical relationships
Tying math into the natural world can help students recognize patterns and relate math to real-world situations
Materials:
- Green Pipe Cleaner
- 10 orange pony beads
Directions
- String pony beads on the green pipe cleaner
- Take turns saying a number and moving that amount of beads to the other side, counting one bead at a time
If you enjoy our Steam Learning Lab and would like to make a donation click here. Thank you for your support!


