Piggy Pinch Pot
Ages 2-12
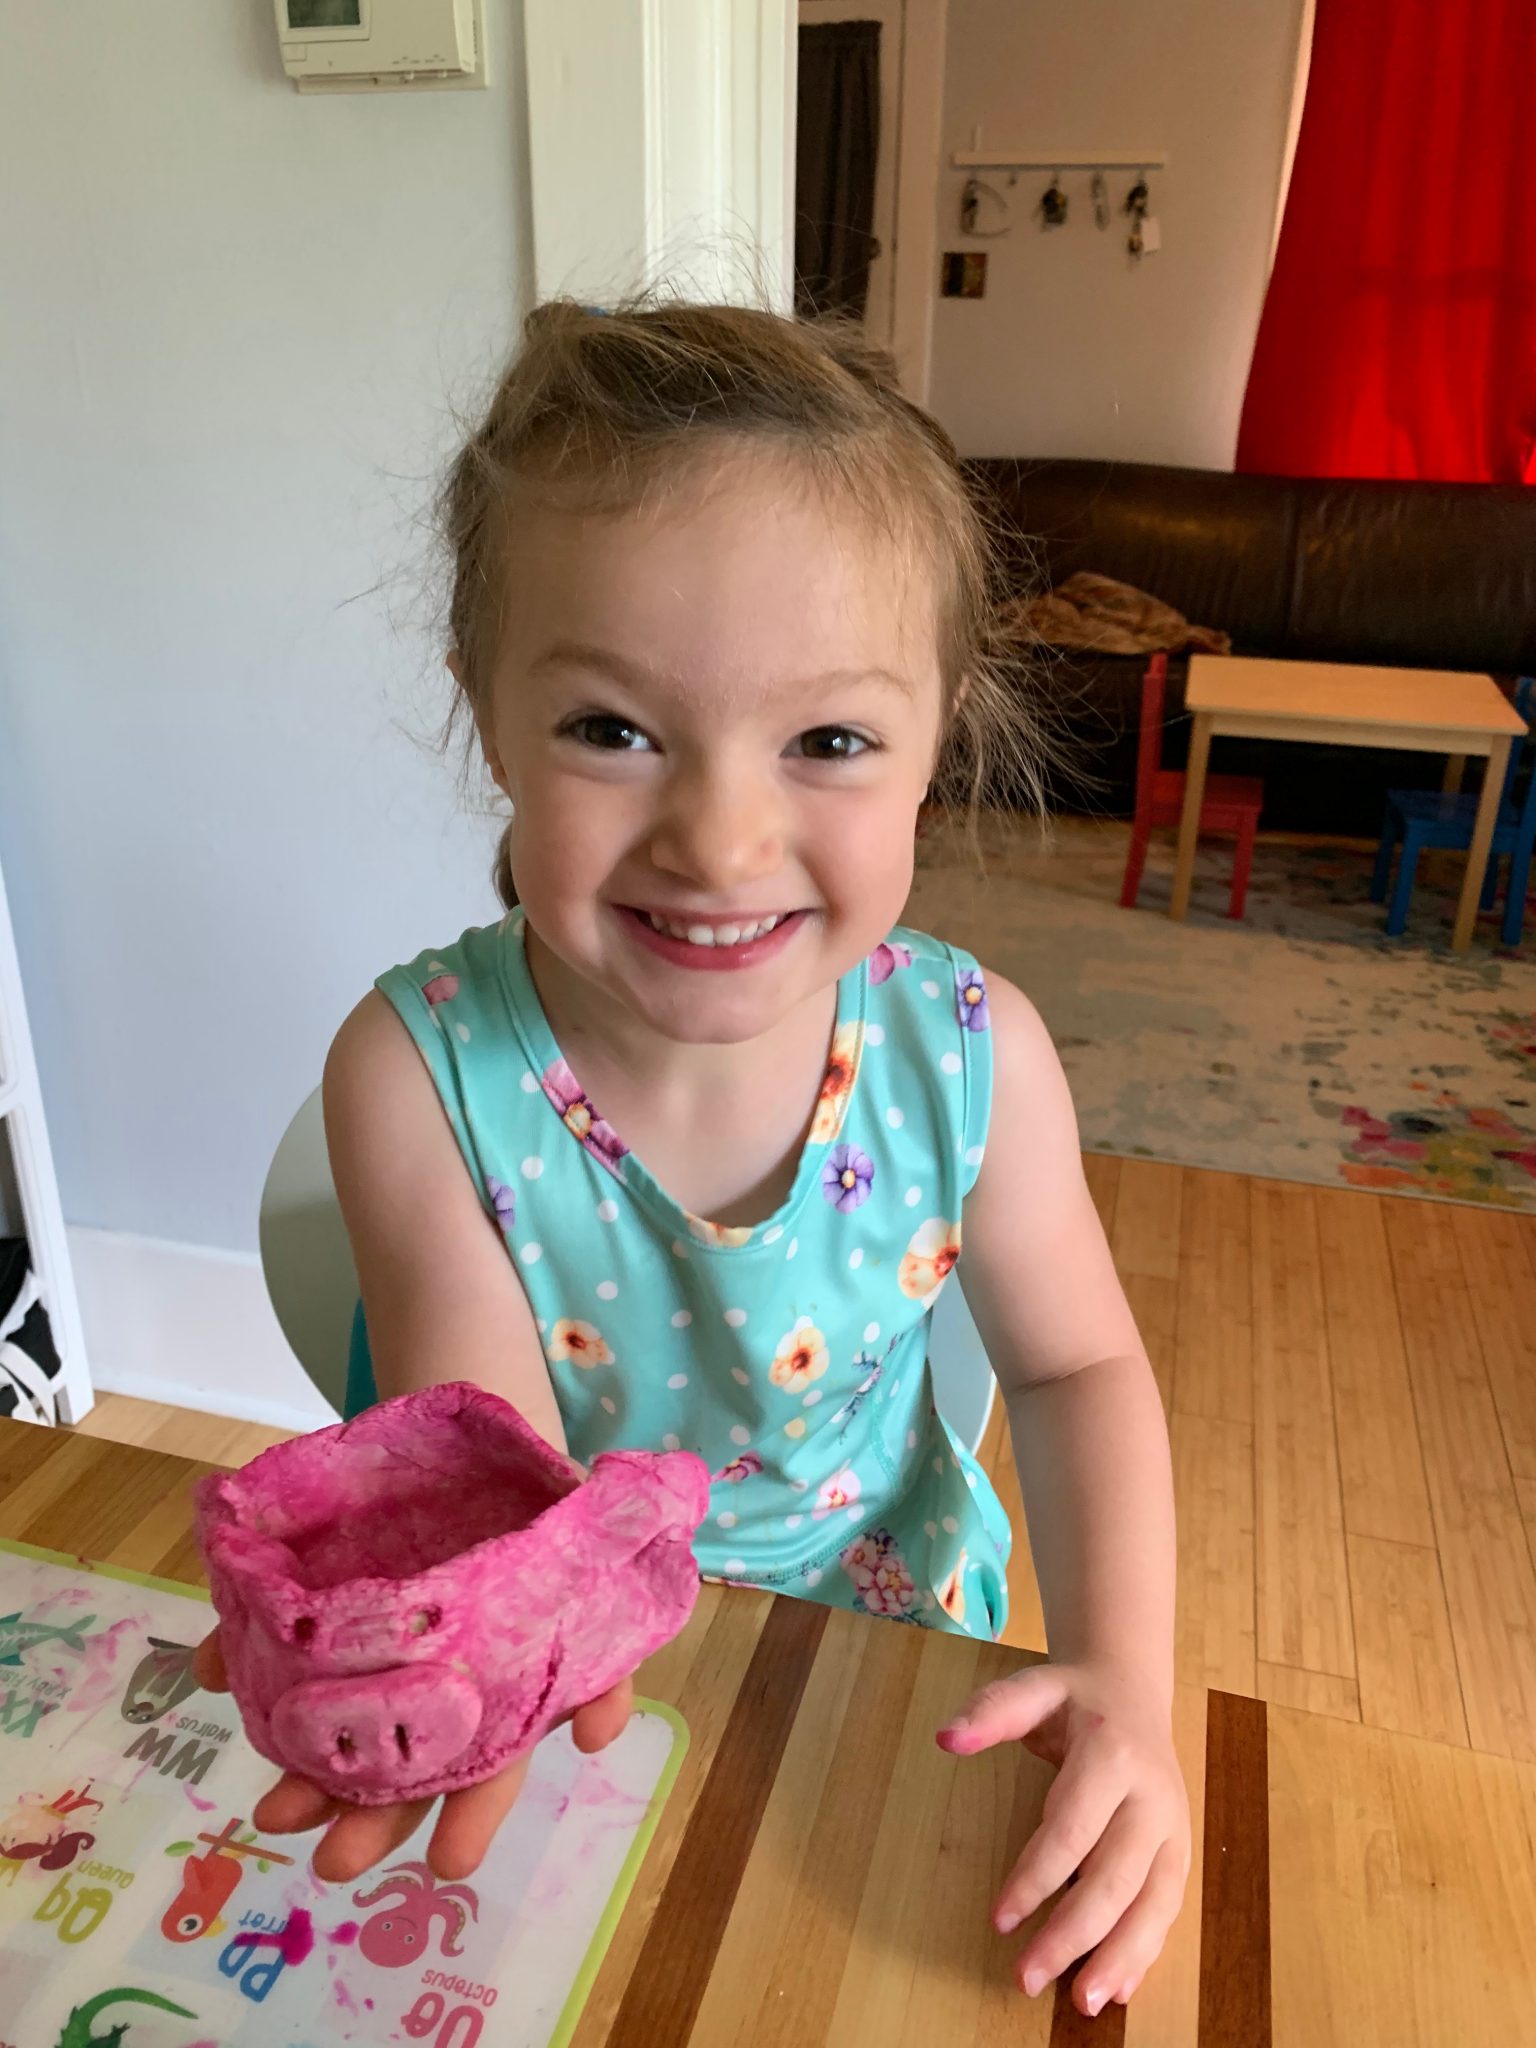
Today, we are visiting the Farm exhibit here in the museum. Tucked into the corner of Kid’s Eye View, the Farm lets museum visitors ride a horse, care for crops and tend to some broody chickens. We especially love the little piggies that we get to visit here, so today we are going to make a cute piggy of our very own!
Making piggy pinch pots (or pinch pots of any style) is an easy way to introduce children to the ceramic arts, and to three-dimensional art projects. This sensory-friendly project creates a fun little pot and, by focusing it on an animal, it can help children find inspiration. Finally, by using the entire hand to shape the pot, small pinch pot artists develop fine motor skills that they need for writing and other educational pursuits.
Since pinch pots can be simple or elaborate, it makes a good project for the whole family! Older children and adults can work on making the pig more detailed or create a whole farm! We have provided some simple instructions to help you get started!
Looking for the Spanish translation? Scroll down below!


Materials:
- Clay or salt dough(check out this easy salt dough recipe), about the size of a baseball
- Toothpick or Butter knife
- Rolling pin or round cup
- pencil
- Optional: pink paint
Directions:
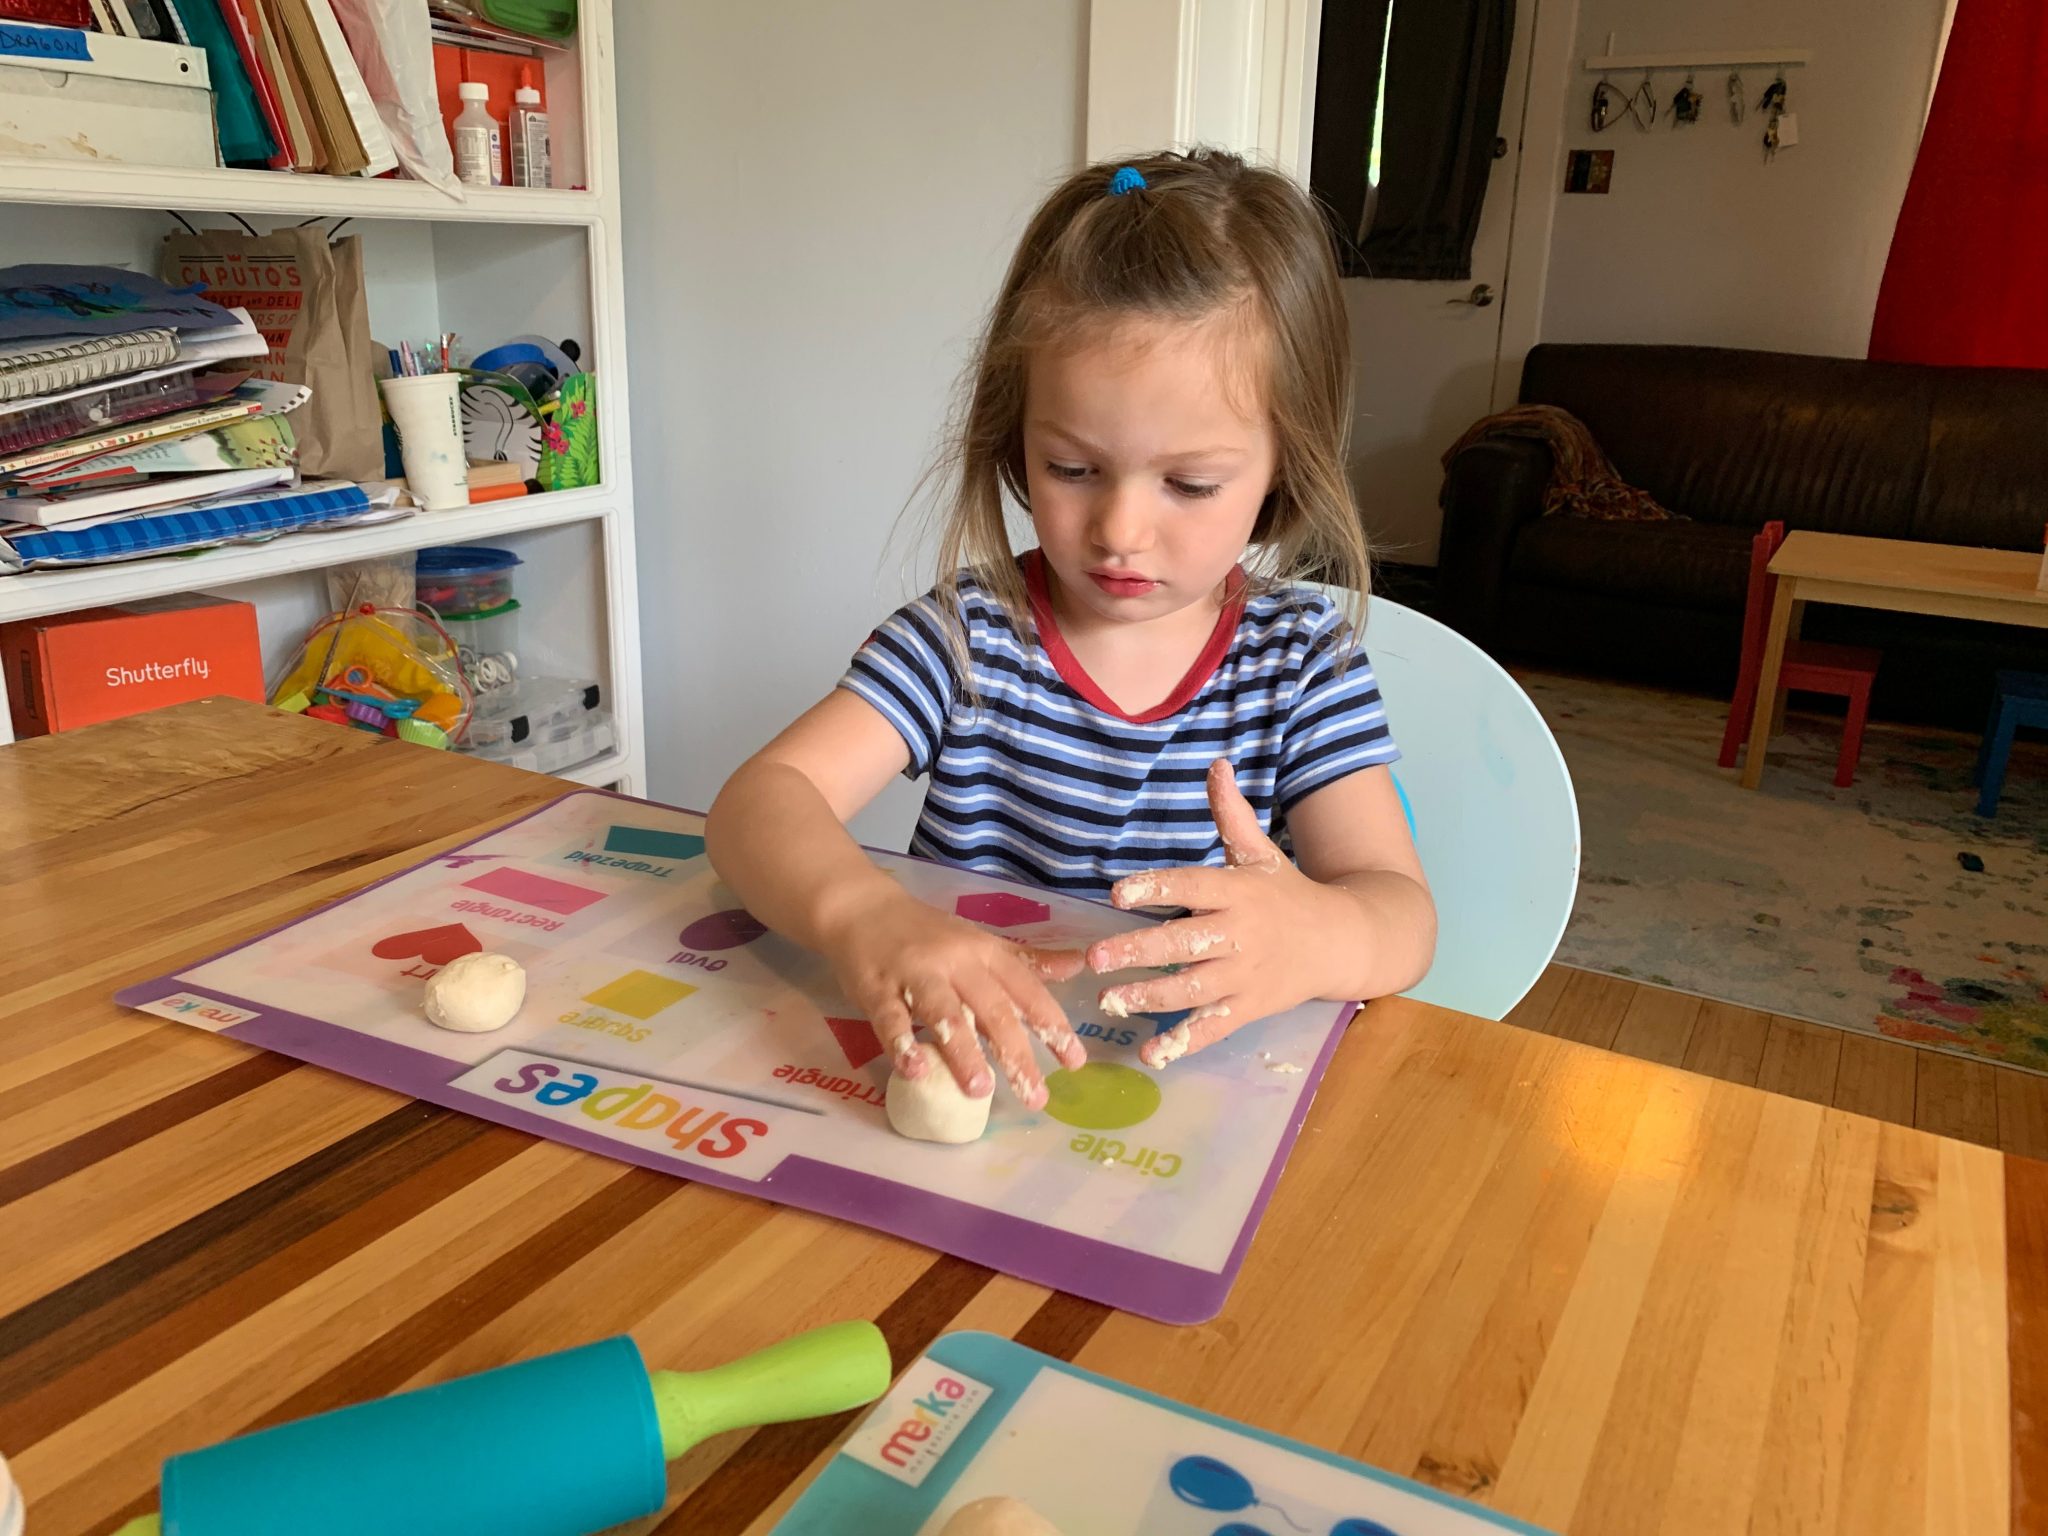
- Take clay or salt dough and break off 2 small pieces about 1 inch in diameter each when rolled into a ball. Set aside.
- Roll the remaining clay into a ball
- Take you thumb and poke a hole in middle of the ball
- Put your thumb into the hole, and hold one side of the ball with the rest of your hand
- Keep your thumb in the hole and start to make the hole bigger, pinching around the pot. As you pinch and make the hole bigger, the sides of the pot will get thinner and taller.
- Smooth the outside of your pot
- Be careful to keep the bottom on the pot fairly thick and to not poke a hole all the way through the pot
- Keep the top part of the pinch pot as straight as possible and continue forming a bowl
- Pick a side that will be the front of your pinch pot. Make 2 pointy pig ears by pushing down on the top of the pot to make a small indentation. Continue pinching/gently pulling the clay into two slight triangles at the front of the pot. Optional: You can take any leftover clay or salt dough and form it into triangles and attach to the top of the pot
- Underneath the ears, make 2 eyes (open or closed) by drawing them in with a toothpick or butter knife
- Keep the second ball of extra clay in a ball but push it against the table so a side becomes flat.
- Poke 2 holes with the pencil on the flat side, you just made a pig nose!
- Push the round part of the pig nose into the pinch pot, so the flat side is facing forward
- Take the third ball of extra clay, and roll it into a snake
- Twist the snake into a spiral-you made a pig tail!
- Put the pig tail onto the back of the pinch pot
- Let the pinch pot dry or bake clay based on manufactures instructions
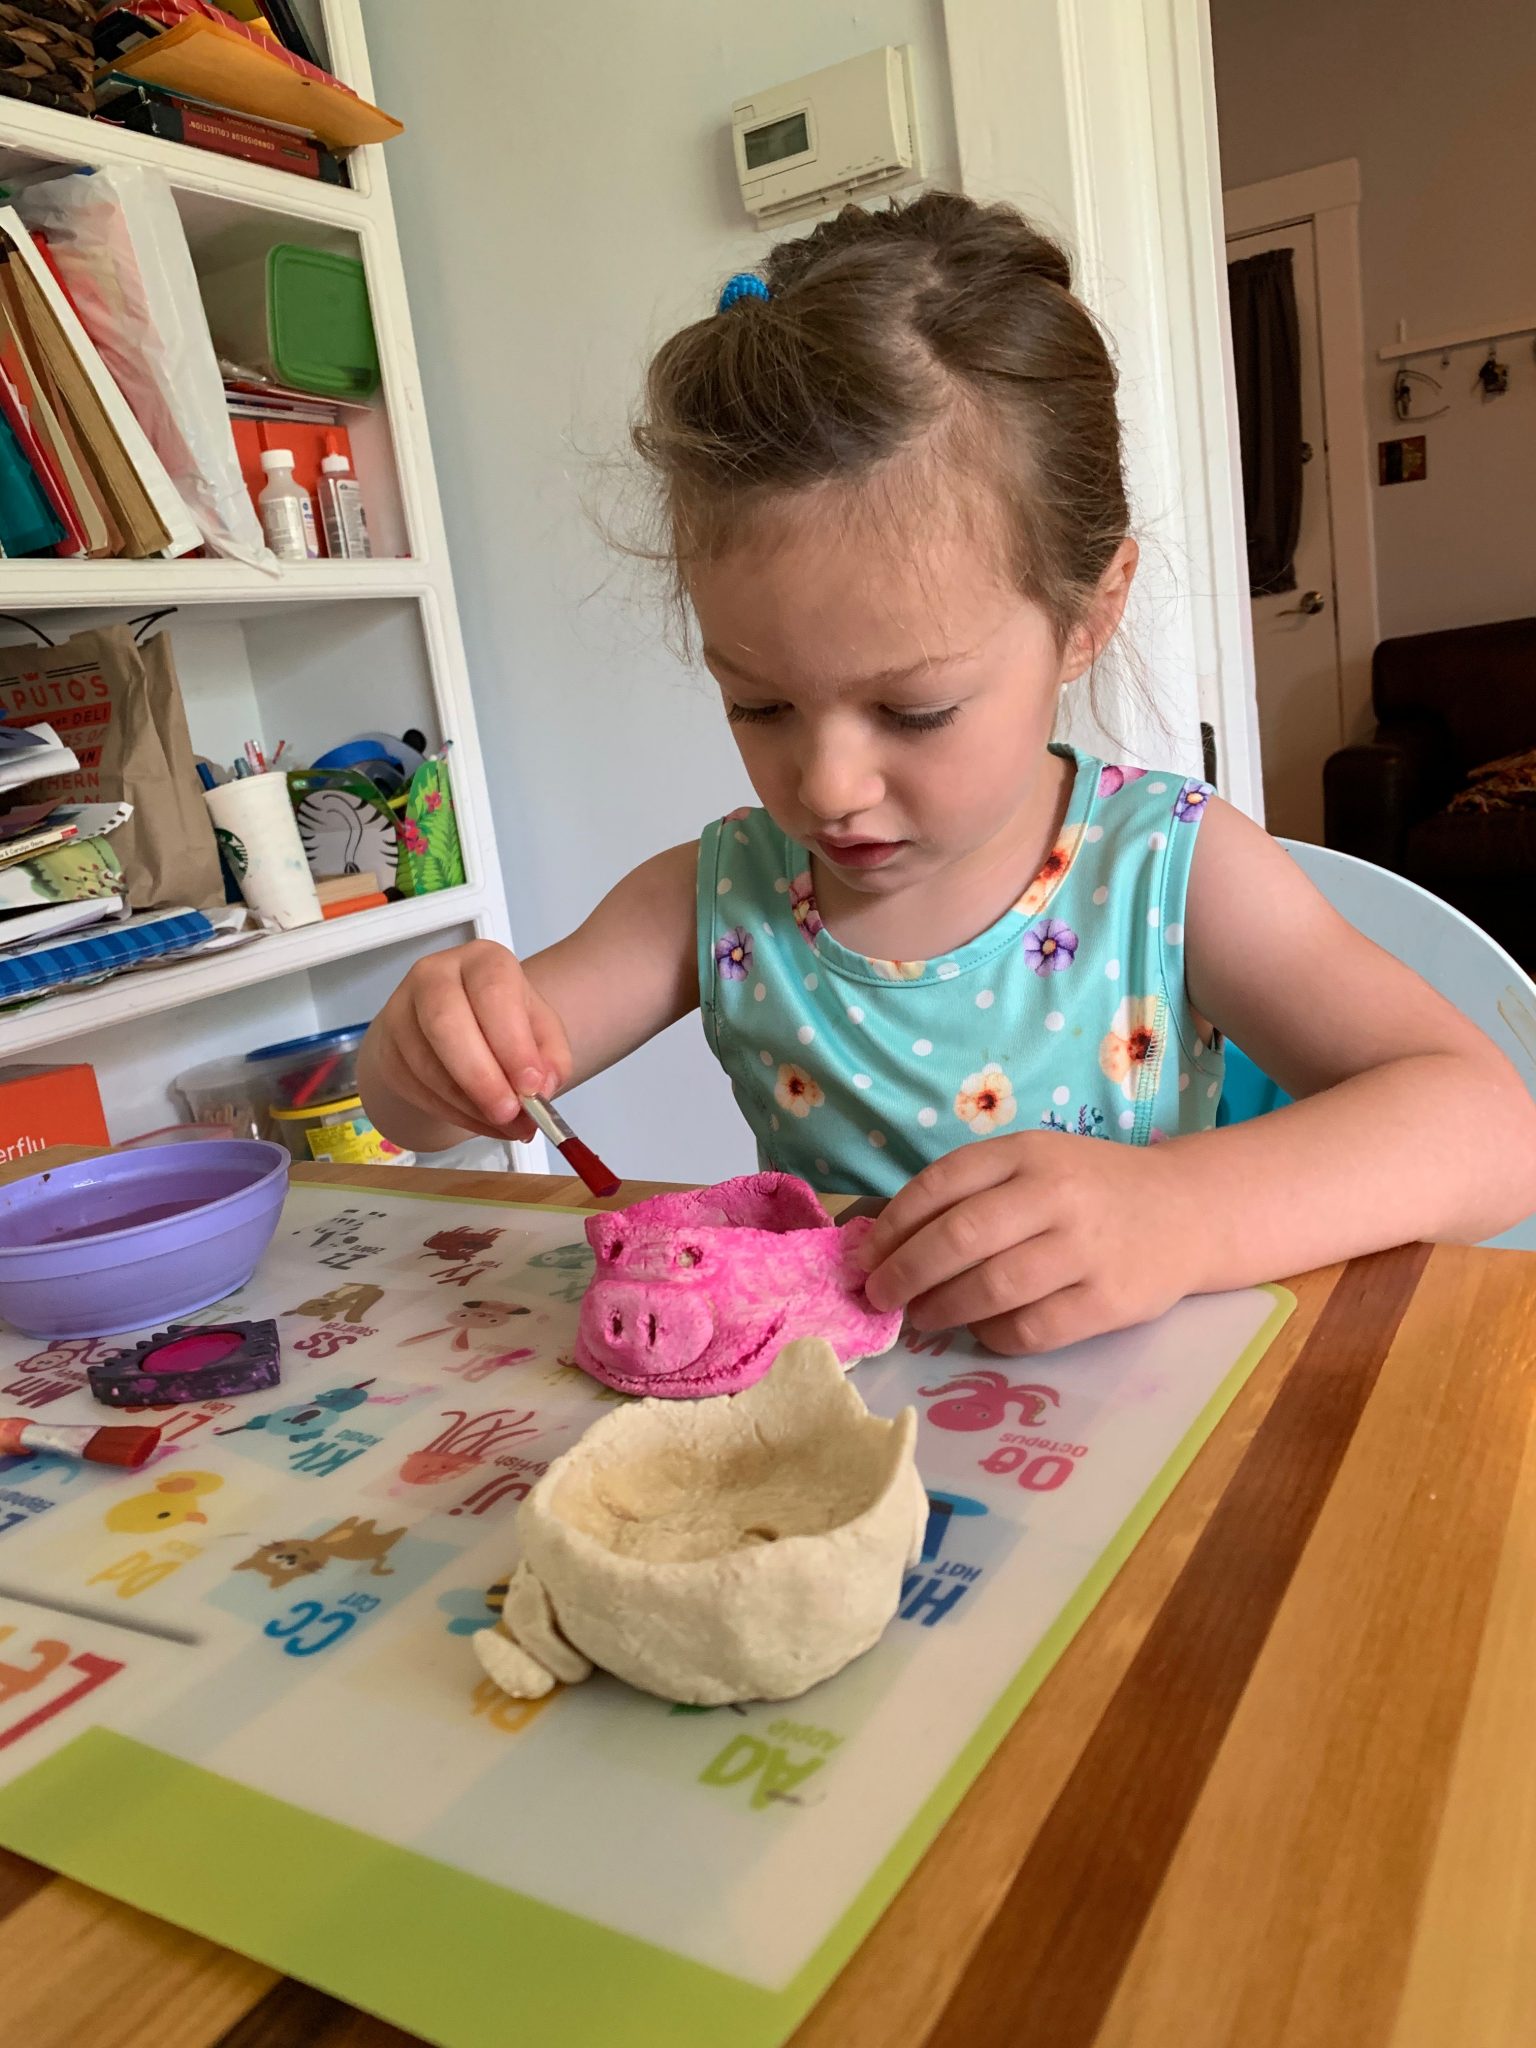
- Optional-Paint your pig pink
More Fun:
- Pinch pots can become excellent planters! Follow the instructions above and poke a small hole at the bottom of the pot before drying/baking. Once the pinch pot is dried/baked fill with soil and a seed!
- What other animal pots can you make?
- Watch this fun story about a piggie!
If you enjoy our Steam Learning Lab and would like to make a donation click here. Thank you for your support!
Spanish Translation:
Cuenco de arcilla fría en forma de cerdito
Para edades de 2 a 12
Hoy, estamos visitando The Farm aquí en el museo. Escondido en la esquina de Kid’s Eye View, The Farm permite a los visitantes del museo montar a caballo, cuidar los cultivos y cuidar algunas gallinas cluecas. Nos encanta especialmente la imagen de un lindo cerdito, ¡así que hoy vamos a hacer un lindo cerdito!
Hacer un cuenco de arcilla fría en forma de cerdito (o cualquier tipo de cuenco con arcilla fría) es una manera fácil de presentar a los niños las artes cerámicas y los proyectos de arte tridimensionales. Este proyecto sensorial crea una linda olla y al enfocarse en los animales, puede ayudar a los niños a encontrar inspiración. Finalmente, al usar toda la mano para dar forma a la olla, los pequeños artistas pellizquen la olla y desarrollan habilidades motoras finas que necesitan para escribir y otras actividades educativas.
Dado que las macetas pueden ser simples o elaboradas, ¡es un buen proyecto para toda la familia! Los niños mayores y los adultos pueden trabajar para que el cerdo sea mas detallado. ¡Hemos proporcionado algunas instrucciones simples para ayudarlo a comenzar!
Materiales:
- Masa de arcilla o sal (mira esta receta fácil de masa de sal), aproximadamente del tamaño de una pelota de beisbol.
- Palillo de dientes o cuchillo de mantequilla
- Rodillo o copa redonda
- Lápiz
- Opcional: pintura Rosa
Direcciones:
- Tome masa de arcilla o sal y rompa 2 pedazos pequeños de aproximadamente 1 pulgada de diámetro cada uno cuando se enrolle en una bola. Dejar de lado.
- Enrolle la arcilla restante en una bola.
- Toma tu dedo pulgar y haz un hoyo en medio de la pelota.
- Coloque el pulgar en el agujero y sostenga en lado de la pelota con el resto de la mano.
- Mantenga el pulgar en el agujero y comience a agrandarlo, pellizcando el cuenco. A medida que pellizcas y agrandas el agujero, los lados del cuenco se volverán más delgados y altos.
- Tenga cuidado de mantener el fondo del cuenco bastante grueso y no hacer un agujero en el base del cuenco.
- Mantenga la parte superior del cuenco de arcilla fría lo mas recta posible y continué formando su cuenco.
- Elija un lado que será el frente de su cuenco. Haga 2 orejas de cerdo puntiagudas tirando suavemente de la arcilla en dos triángulos en la parte delantera del cuenco.
- Debajo de las orejas, haga 2 ojos (abiertos o cerrados) dibujándolos con un palillo de dientes o un cuchillo de mantequilla.
- Mantenga la segunda bola de arcilla extra en una bola, pero empújela contra la mesa para que un lado quede plano.
- Haz 2 agujeros con el lápiz en el lado plano ¡hiciste una nariz de cerdo!
- Empuje la parte redonda de la nariz del cerdo dentro de la olla con presión, de modo que el lado plano quede hacia adelante.
- Toma la tercera bola de arcilla extra y hazla rodar como una serpiente
- Gira la serpiente en una espiral: ¡Haz hecho una cola de cerdo!
- Pon la cola de cerdo en la parte de atrás del cuenco.
- Deje secar el cuenco o hornee la arcilla según las instrucciones del fabricante.
- Opcional: Pinta tu cerdo de rosa.
Mas Diversión:
- ¡Los cuencos de arcilla fría pueden convertirse en excelentes maceteros!Siga las instrucciones anteriores y haga un pequeño agujero en el fondo del cuenco antes de secar/hornear. Una vez que la maceta esté seca/horneada llénela de tierra y una semilla.
- ¿Qué otras macetas de animales puedes hacer? Mira esta divertida historia sobre un cerdito.


