We are celebrating the last week of our spooky month by dedicating an entire week to pumpkins! Learn more about these gorgeous gourds with daily STEAM Learning Lab lessons. Today we bring you two lessons: Pumpkin Leaves and Pumpkin Guts Slime!
Pumpkin Leaves
Ages 2 and up
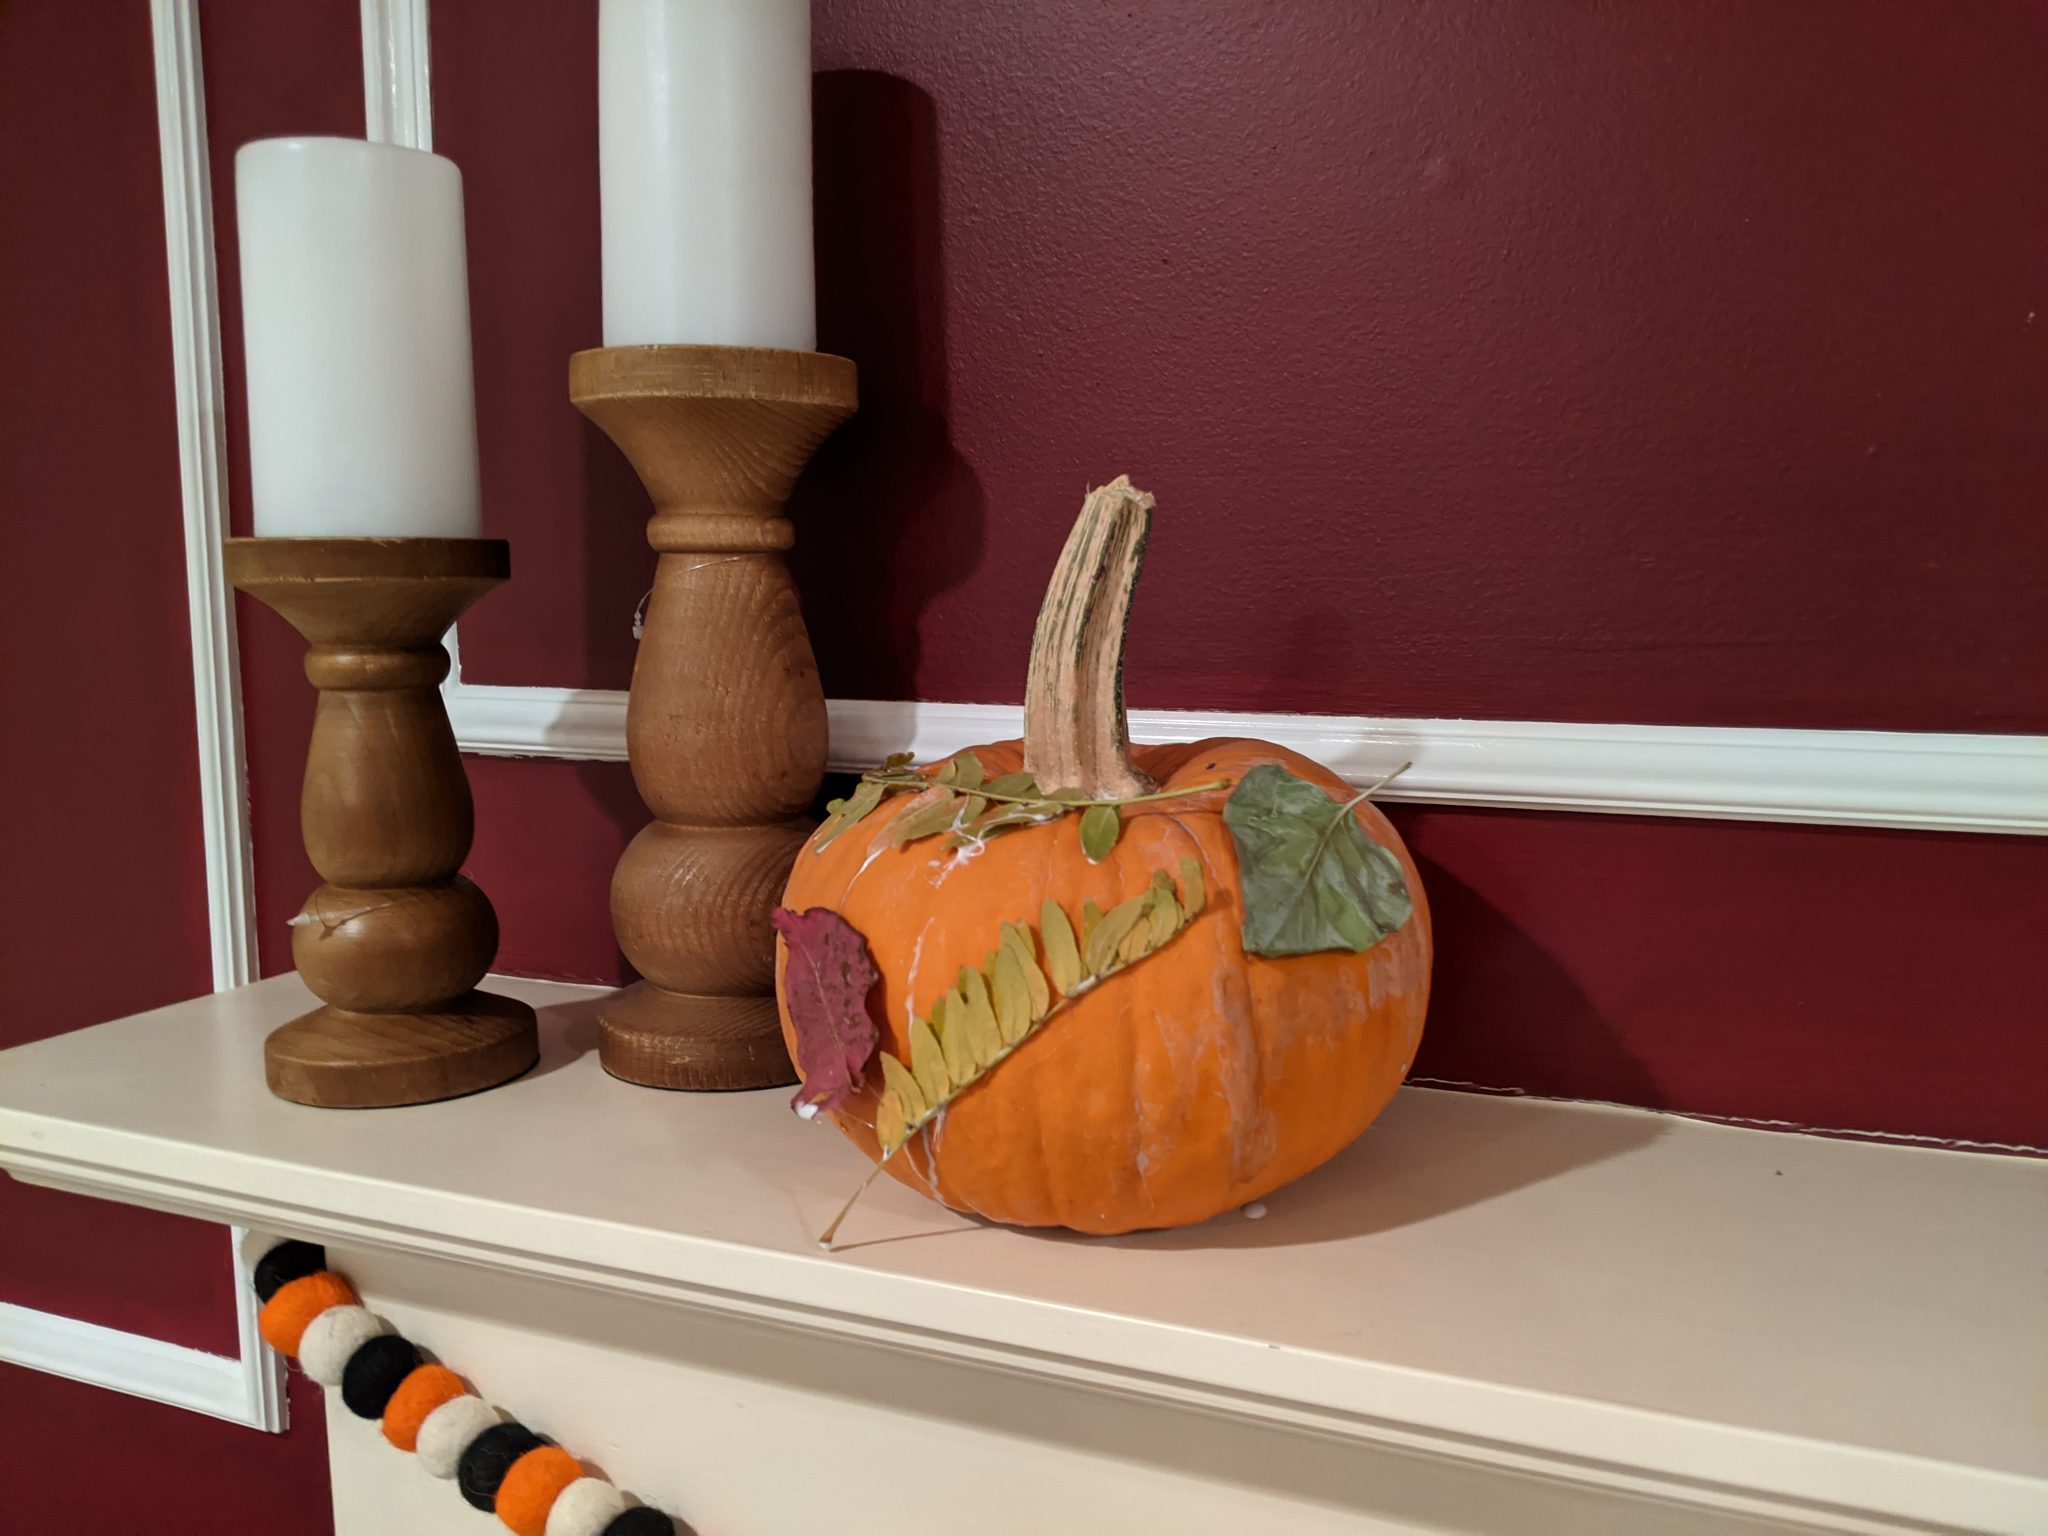
This activity combines some of fall’s best natural decorations-pumpkins and leaves! Collecting leaves in the fall can be fun, especially when there are so many different shapes and colors. Displaying the leaves on our pumpkins can be a great way to show off the highlights of our leaf collections. Since we don’t need to cut the pumpkin up for this activity, the pumpkin and leaves should last for a long time, especially when placed outside.
There is no perfect way to put leaves on a pumpkin, so this is a great chance to show our creativity! Some kids might want to take pictures of the leaves, while others will enjoy placing them all over the pumpkin. Whatever way works best for you, be aware that not all leaves will lie perfectly flat. We suggest using leaves that are still fresh and bendy because they will stay on the pumpkin better. You can also cut out paper leaves if you wish.

Materials:
- Fall Leaves!
- 1 medium pumpkin
- Glue or Modge-Podge
- Water
- Paintbrush
Directions:
- If using glue, mix 3 parts glue to 1 part water
- Place leaves in pattern or picture on pumpkin
- Paint the back of the leaves with glue or Modge-Podge
- Glue them on pumpkin
- Paint the front of the leave with glue or Modge-Podge, making sure to cover all the edges. You should apply glue so that the surrounding half inch of the pumpkin, the part around the leaf, has glue or Modge-Podge on it as well.
- Repeat with all the leaves.
- Let dry 1 hour
Pumpkin Guts Slime
Ages 4 and up with adult
Carving pumpkins is an awesome opportunity for sensory play! Sensory play has been shown to increase neural connections in the brain, helping kids learn (and remember) language and fine motor skills. It even prepares kids for more complex mental tasks. By carving pumpkins, kids get to experience different smells, sights and even a bunch of cool textures! Pumpkins have so many different textures, from the hard shell to the goo surrounding the seeds in the middle.
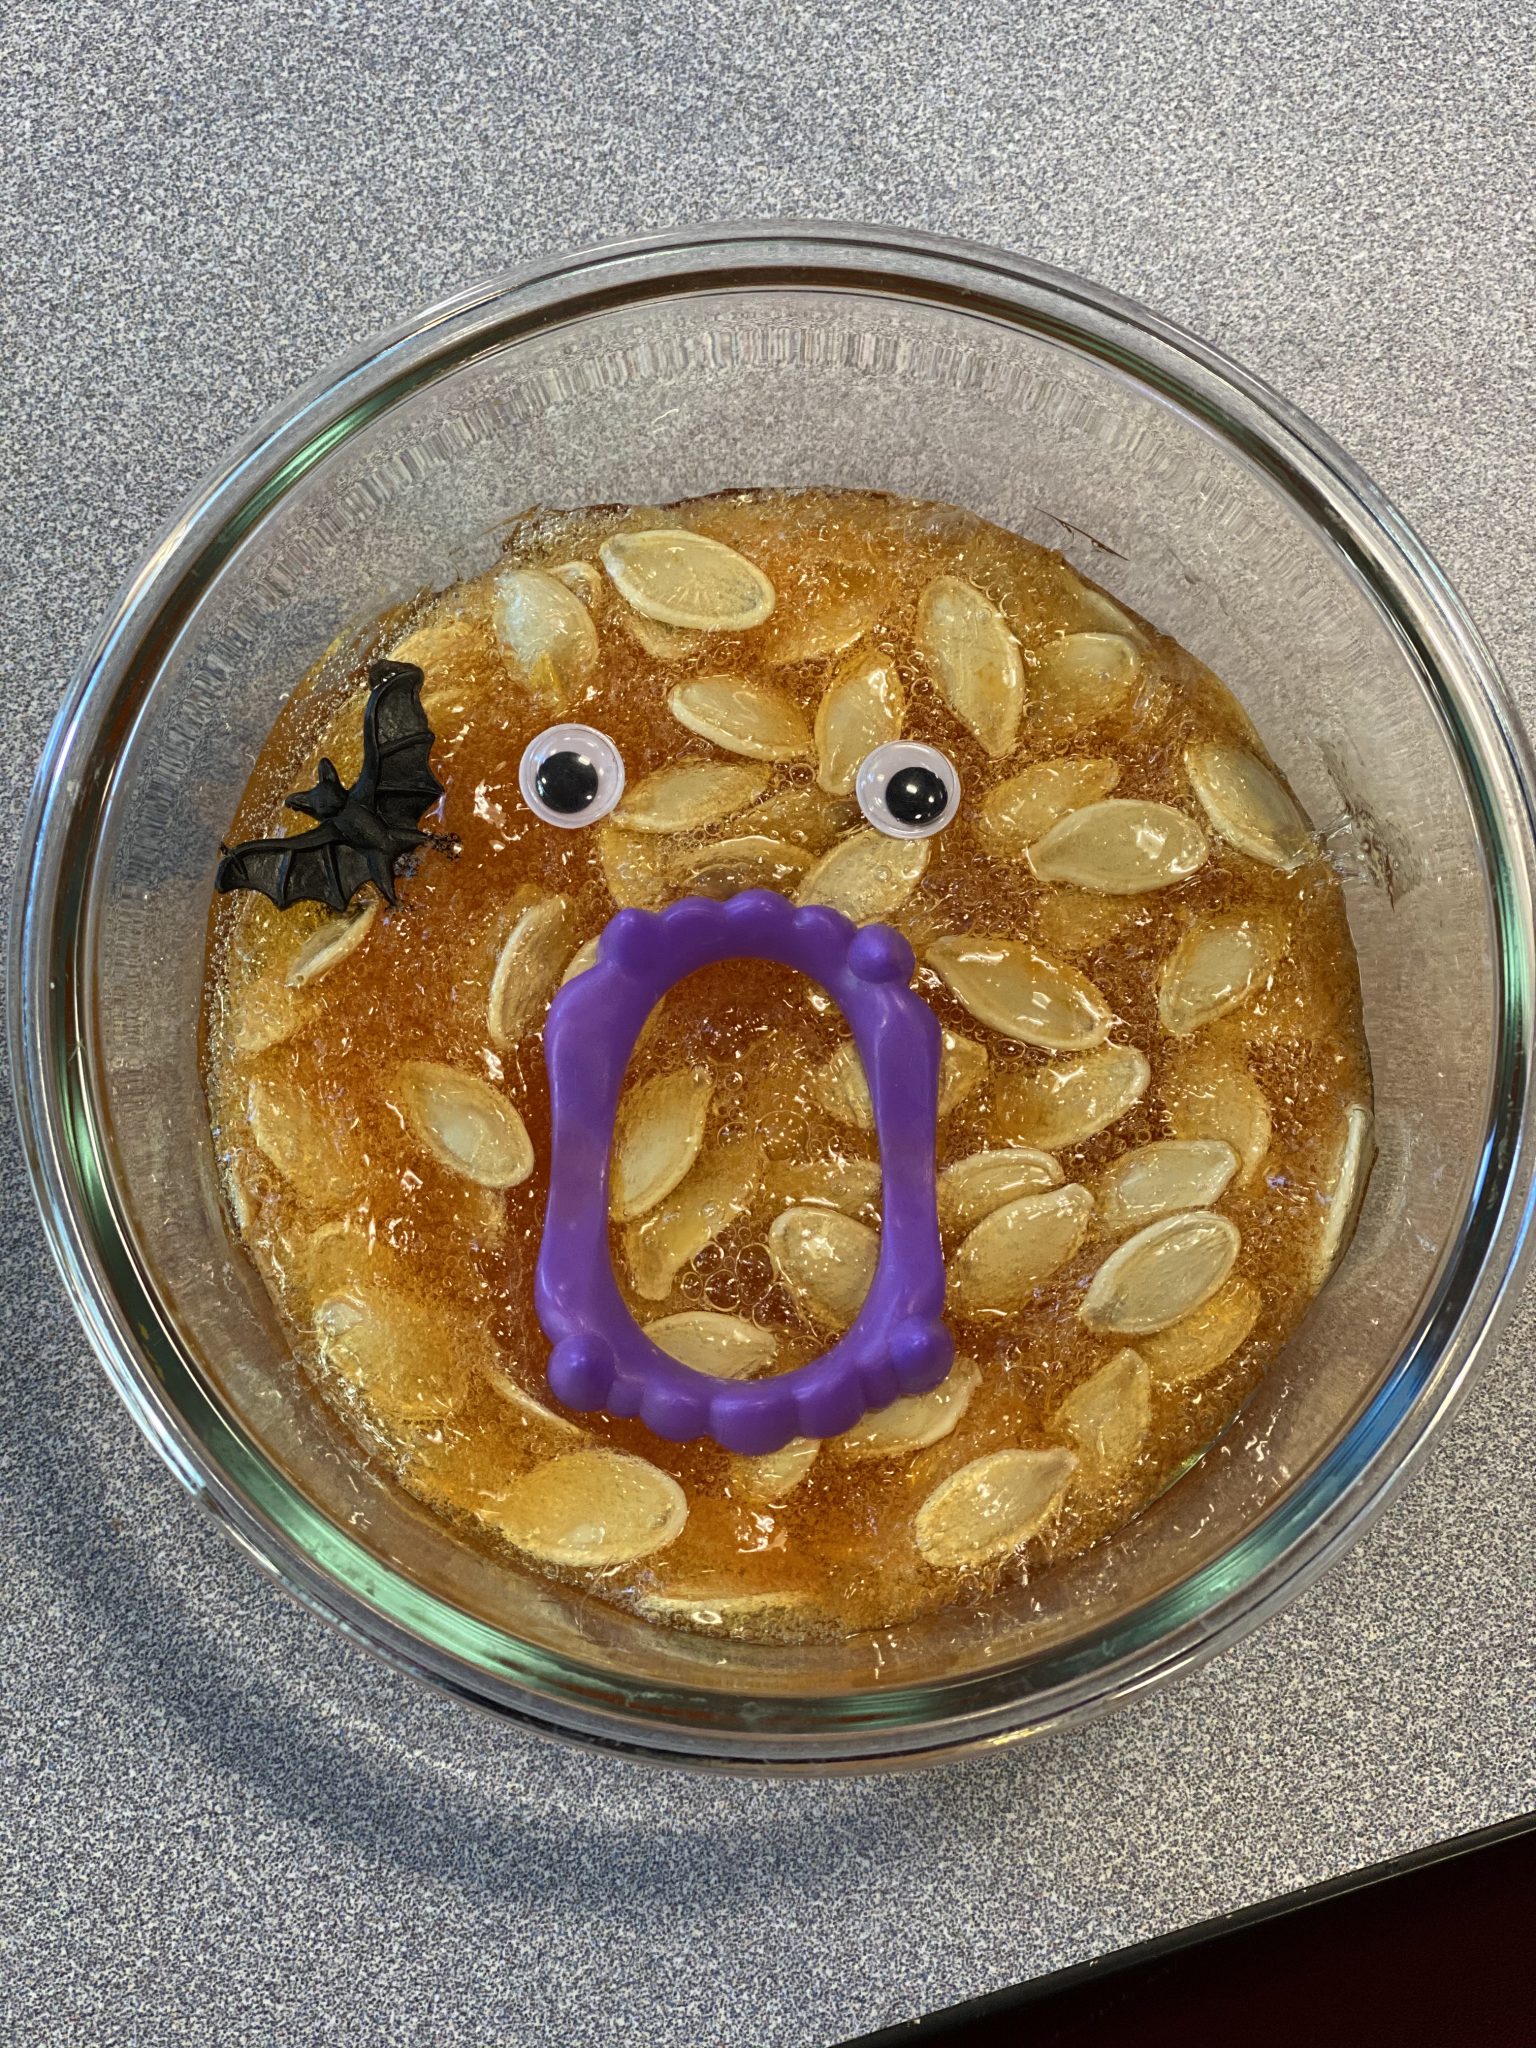
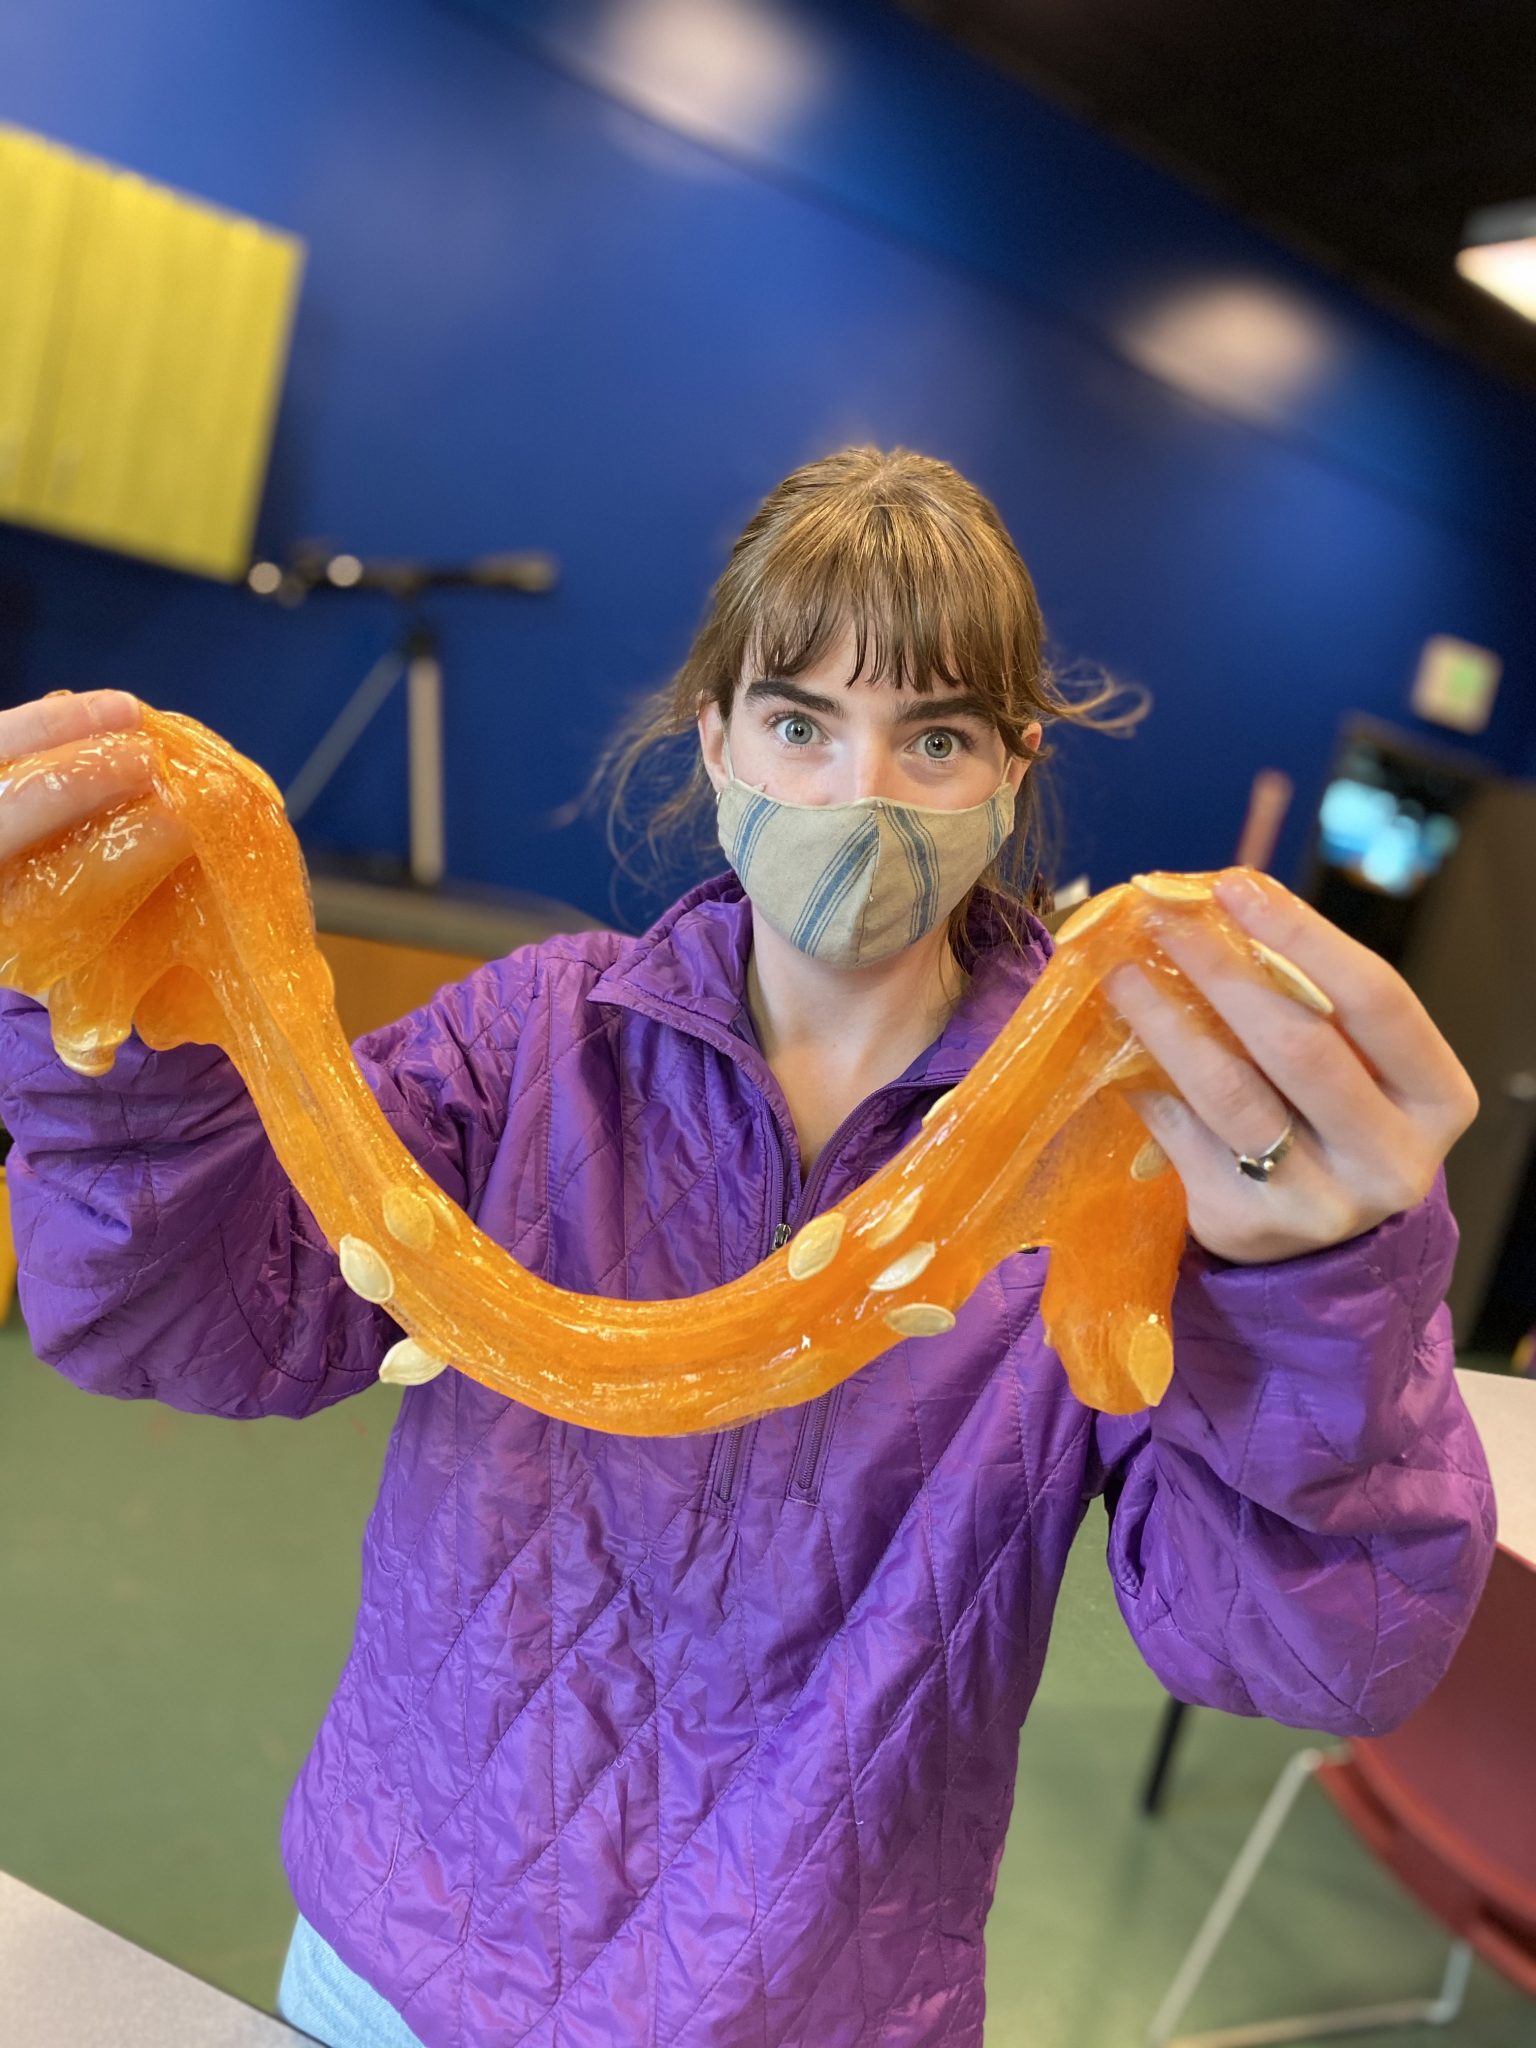
Slime is also a good tool for sensory play and can be an interesting way to use up the pumpkin guts that are leftover when you make a jack-o-lantern. By making the slime, the texture of the pumpkin will change slightly, so it can also be a fun way to introduce one more cool texture to your pumpkin carving activity!


Materials:
- About ½ cup fresh pumpkin seeds from the guts
- ¾ cup clear Elmer’s glue
- 1 teaspoon baking soda
- 2 tablespoons contact solution
- Yellow and Red Dye
Directions:
- Combine glue and water in a large mixing bowl
- Add pumpkin seeds to mixing bowl-lightly stir to combine ingredients
- Add baking soda – combine
- Add contact solution, dye and stir well. Keep mixing until it is fun to play with. If it is too sticky, add more contact solution
- This slime is not edible! Be careful with slime around young children
Store in fridge in an airtight container for up to 2 days
If you enjoy our Steam Learning Lab and would like to make a donation click here. Thank you for your support!


